Planning and Design

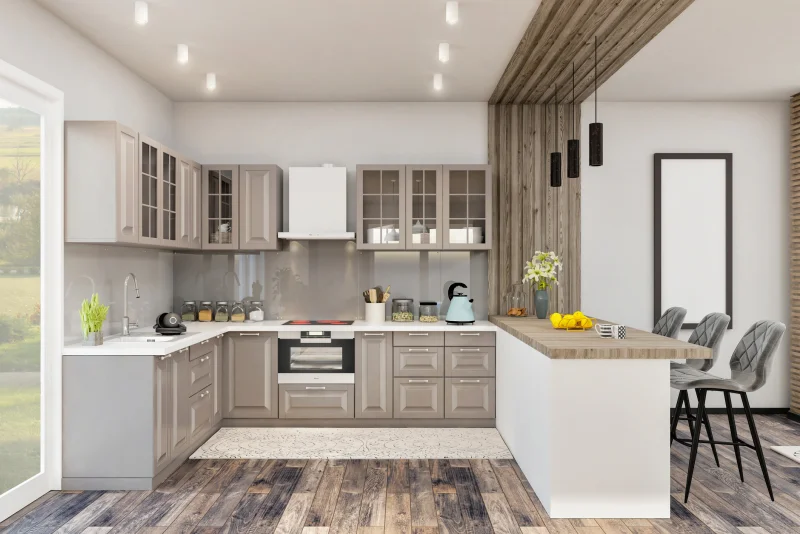
Taking your kitchen cabinets to the ceiling offers a wealth of benefits, including maximizing storage space and achieving a more cohesive and streamlined aesthetic. By utilizing every inch of vertical space, you can create a more efficient and organized kitchen environment, while also enhancing the overall visual appeal of the room.
Measuring and Planning the Layout
Before embarking on your kitchen cabinet project, meticulous planning and accurate measurements are essential for ensuring a successful outcome. The layout of your cabinets should be carefully considered, taking into account factors such as appliance placement, the work triangle, and desired functionality.
- Determine Appliance Placement: Begin by carefully planning the placement of your major appliances, such as the refrigerator, oven, and dishwasher. These appliances will significantly influence the layout of your cabinets, as they require specific clearances and dimensions. Consider the flow of your kitchen and how you will interact with these appliances when determining their positions.
- Establish the Work Triangle: The work triangle, which encompasses the refrigerator, sink, and stovetop, should be designed for optimal efficiency and convenience. The ideal distance between these three points is between 4 and 6 feet, allowing for ample space to move around freely and work comfortably. Ensure that the work triangle is not obstructed by furniture or other obstacles.
- Define Functional Zones: Divide your kitchen into distinct functional zones, such as a food preparation area, a cooking area, and a cleaning area. This will help you determine the optimal placement of cabinets for each zone, ensuring that everything is within easy reach. For instance, consider placing deep drawers for storing pots and pans near the cooking area and shallower cabinets for storing dishes near the sink.
- Measure Carefully: Once you have a general layout in mind, it’s time to take accurate measurements of your kitchen space. Use a tape measure to determine the dimensions of walls, windows, doors, and existing appliances. Don’t forget to factor in the thickness of walls, baseboards, and countertops. These precise measurements will be crucial for designing and ordering your cabinets.
- Create a Detailed Sketch: After taking your measurements, create a detailed sketch of your kitchen layout, including the placement of appliances, cabinets, and other fixtures. This sketch will serve as a visual guide for your cabinet design and help you identify any potential issues or conflicts before you begin construction.
Design Tips for Ceiling-Height Cabinets
When incorporating upper cabinets that reach the ceiling, several design considerations can enhance the aesthetics and functionality of your kitchen.
- Cabinet Style: Choose a cabinet style that complements the overall design of your kitchen and provides ample storage space. Consider the height of your ceilings and the size of your kitchen when selecting the style. For example, shaker-style cabinets offer a classic and versatile look, while contemporary cabinets with sleek lines and minimalist designs can create a more modern feel.
- Cabinet Depth: The depth of your upper cabinets should be carefully considered. Deeper cabinets provide more storage space, but they can also make the kitchen feel cramped if not properly planned. For a more spacious feel, opt for shallower cabinets or incorporate open shelving in certain areas.
- Hardware: Select hardware that complements the style of your cabinets and provides easy access to your belongings. Consider using pull-out shelves, drawers, and other organizational features to maximize storage efficiency and minimize wasted space. Additionally, choose hardware that is durable and easy to clean.
Construction and Installation: Diy Kitchen Cabinets To Ceiling

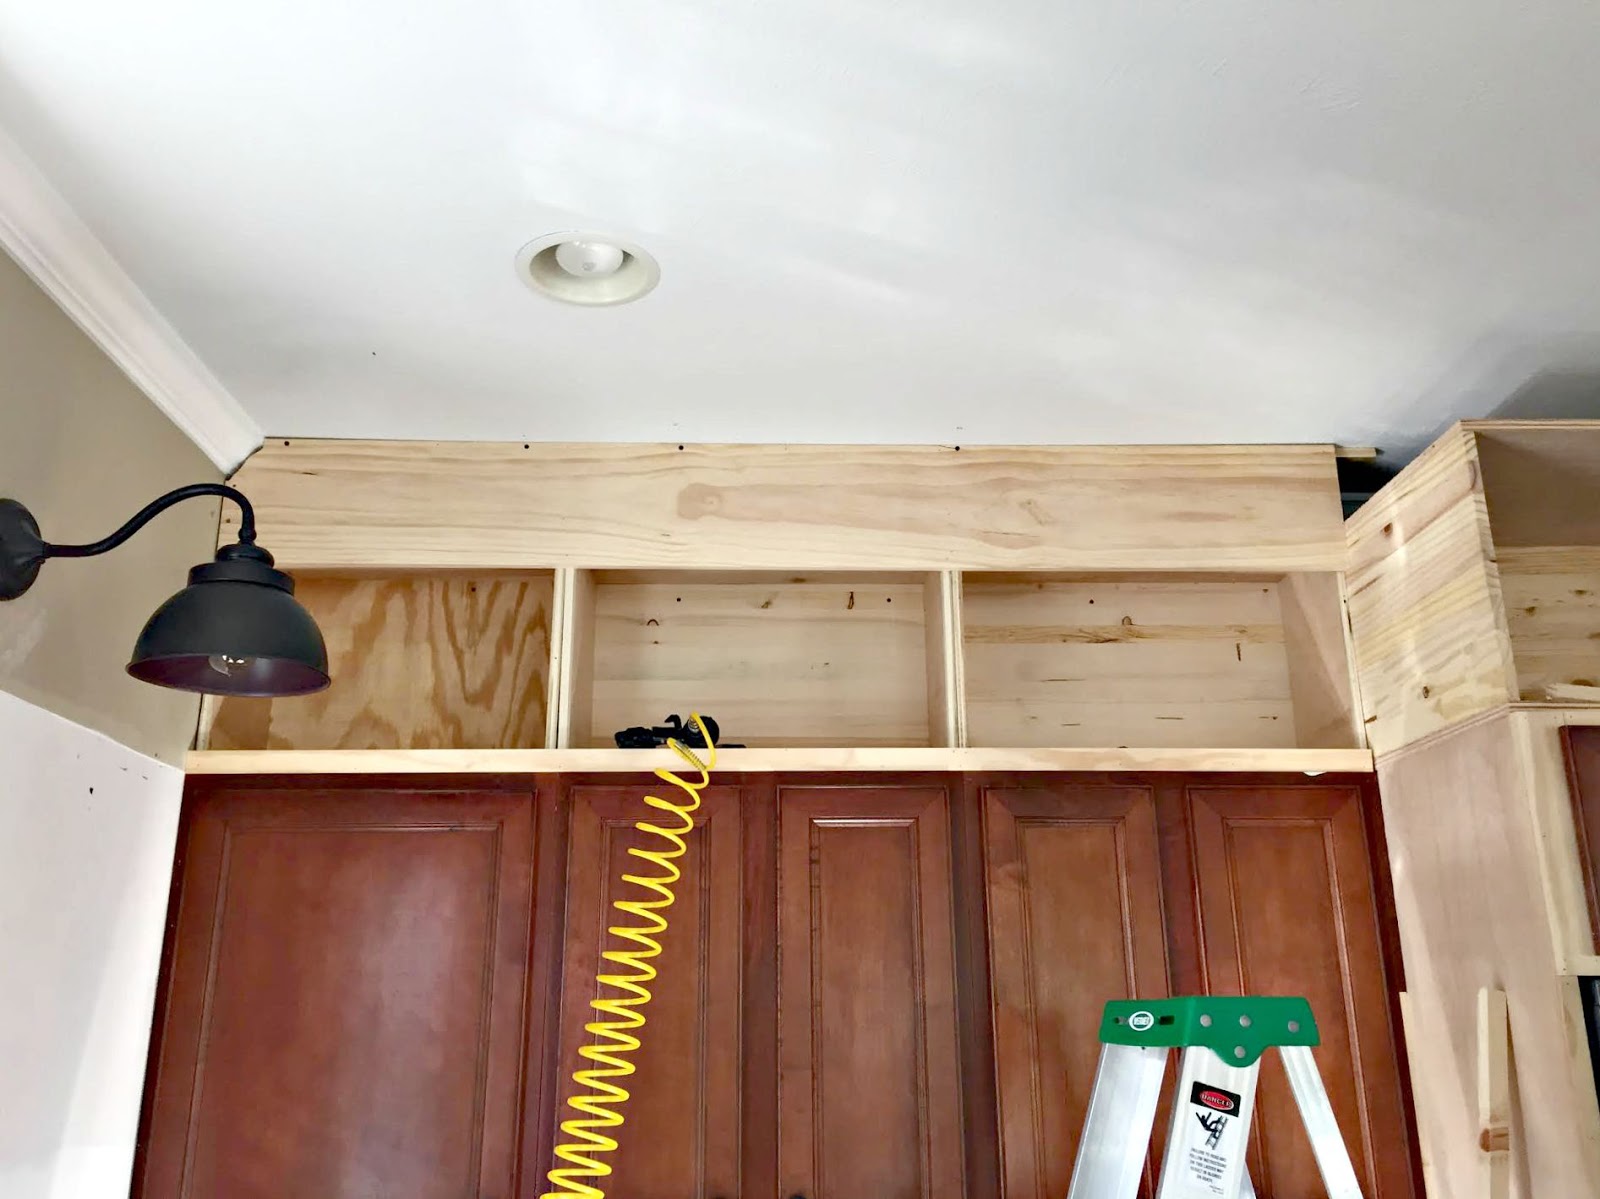
Building your own kitchen cabinets is a rewarding project that allows you to customize your kitchen space to your exact needs and preferences. This section will delve into the different materials used, construction techniques, and installation tips for creating DIY cabinets that reach the ceiling.
Choosing the Right Materials, Diy kitchen cabinets to ceiling
The choice of materials significantly impacts the durability, aesthetics, and cost of your cabinets.
- Plywood: A popular choice for cabinet construction due to its strength, stability, and affordability. Plywood is made of thin layers of wood veneer glued together, resulting in a material that is less prone to warping and twisting than solid wood.
- Medium-Density Fiberboard (MDF): A cost-effective option known for its smooth surface and consistent density. MDF is made from wood fibers that are bonded together with resin. While it is less durable than plywood, it is a good choice for cabinet doors and drawer fronts.
- Solid Wood: The most expensive option, but also the most durable and aesthetically pleasing. Solid wood cabinets can be made from various species, such as maple, cherry, or oak, each with its unique grain pattern and characteristics.
Building the Cabinet Boxes
- Cutting the Material: Precise cutting is crucial for accurate cabinet construction. Use a table saw or circular saw with a sharp blade for clean cuts. Always wear safety glasses and hearing protection.
- Assembling the Boxes: Cabinet boxes are typically assembled using pocket holes, dowels, or biscuits. Pocket holes are created using a jig and a drill bit, allowing for strong and hidden joinery. Dowels and biscuits provide another method for creating strong and accurate joints.
- Finishing the Edges: To achieve smooth edges, use a router with a round-over bit or a sanding block. For a more polished look, apply wood filler to any imperfections before sanding.
Installing Upper Cabinets
- Securing Cabinets to the Wall: Use heavy-duty cabinet screws and wall anchors for secure installation. Be sure to locate studs for additional support.
- Aligning with Lower Cabinets: Ensure the upper cabinets are aligned with the lower cabinets for a seamless look. Use a level to ensure that the cabinets are plumb and level.
- Ensuring Stability: For cabinets reaching the ceiling, it’s essential to provide additional support. Consider using metal brackets or shelf supports to distribute weight evenly.
Finishing Touches

The final step in your DIY kitchen cabinet project is applying finishing touches. This involves selecting and applying a suitable finish, installing doors and drawers, and adding hardware and decorative moldings. By taking your time and paying attention to detail, you can create a beautiful and functional kitchen that you’ll enjoy for years to come.
Choosing the Right Finish
Selecting the right finish for your kitchen cabinets is an important decision. You’ll need to consider factors such as durability, color, and desired aesthetic.
- Paint: Paint is a popular choice for kitchen cabinets because it’s easy to apply and offers a wide range of colors and finishes. For durability, consider using a high-quality paint specifically designed for kitchen cabinets, which will resist scratches, stains, and moisture.
- Stain: Stain is another popular option for kitchen cabinets. It enhances the natural beauty of the wood while providing a protective layer. Choose a stain that complements the color of your kitchen and provides the desired level of darkness or lightness.
- Decorative Finishes: For a unique look, consider applying a decorative finish to your cabinets. Options include glazing, distressing, and antiquing. These finishes can add depth and character to your cabinets, creating a one-of-a-kind look.
Applying Finishing Touches
Once you’ve chosen your finish, it’s time to apply it to your cabinets. This involves carefully preparing the surfaces, applying the finish, and allowing it to dry completely.
- Installing Doors and Drawers: Once the finish has dried, you can install the doors and drawers. This involves aligning the doors and drawers, securing them with hinges and slides, and ensuring they open and close smoothly.
- Adding Hardware: Hardware includes handles, knobs, pulls, and hinges. Choose hardware that complements the style of your cabinets and kitchen.
- Installing Decorative Moldings: Decorative moldings can add a touch of elegance to your kitchen cabinets. Choose moldings that complement the style of your kitchen and cabinets.
Diy kitchen cabinets to ceiling – Taking your kitchen cabinets to the ceiling maximizes storage and creates a sleek, modern look. This approach can inspire you to think about other vertical storage solutions throughout your home, such as a mini home bar cabinet for your entertaining area.
Similarly, incorporating a dedicated cabinet space for barware in your kitchen can help maintain order and showcase your favorite spirits. Just like taking your kitchen cabinets to the ceiling, a well-designed bar cabinet can be a stylish and functional addition to any space.
Taking your kitchen cabinets to the ceiling is a popular design choice, maximizing storage space and creating a sleek, modern look. If you’re considering pre-made cabinets, you might want to check out lowes diamond kitchen cabinets reviews to see if they fit your needs.
Whether you DIY or opt for pre-made, taking your cabinets to the ceiling can be a smart move for any kitchen renovation.